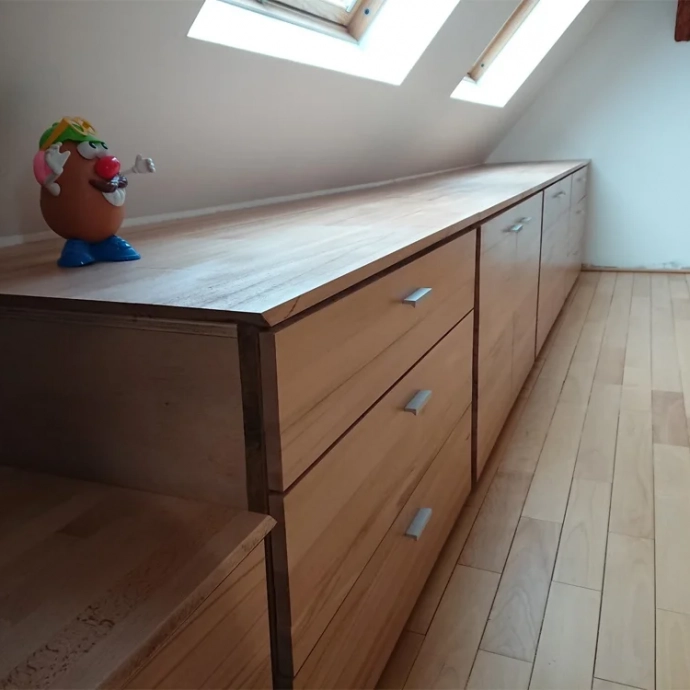
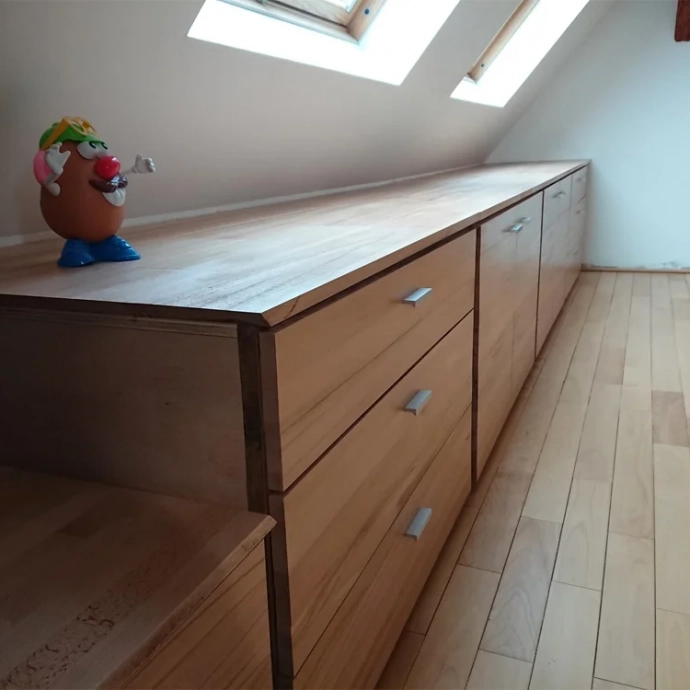
Project objective: create a custom piece of furniture for additional storage in an untapped area under the eaves. The total length of the cabinet is almost 5m and is broken down into several elements.
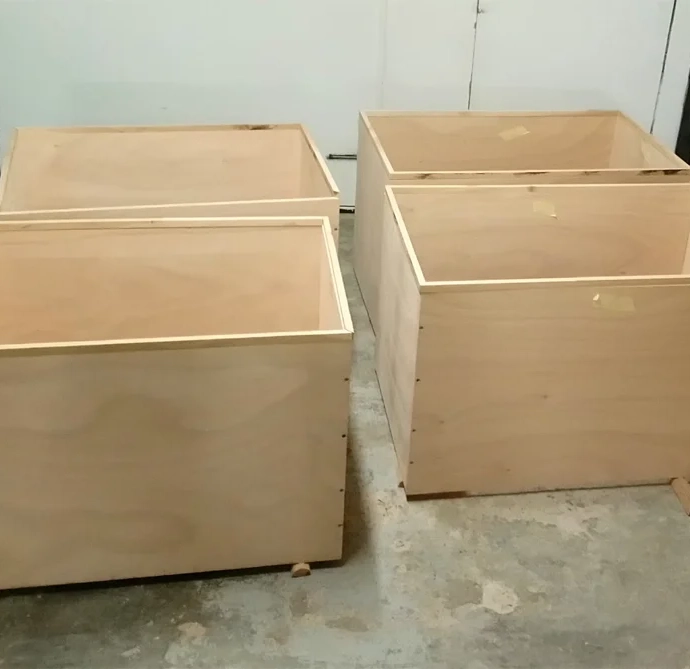
The manufacture of crates
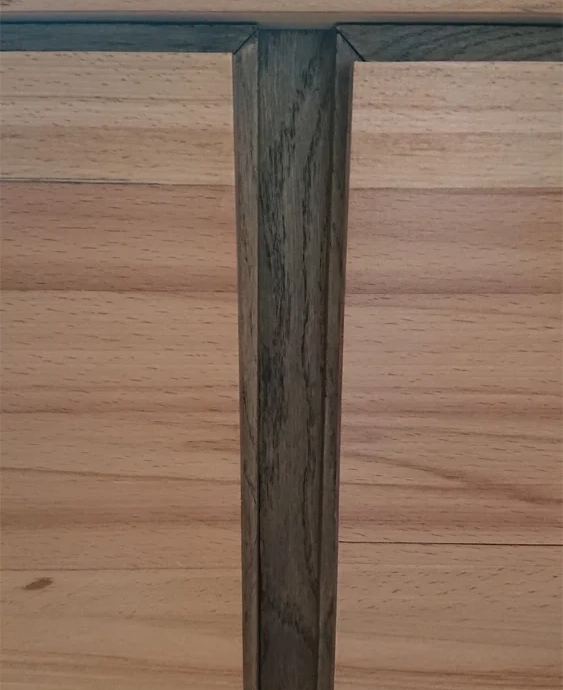
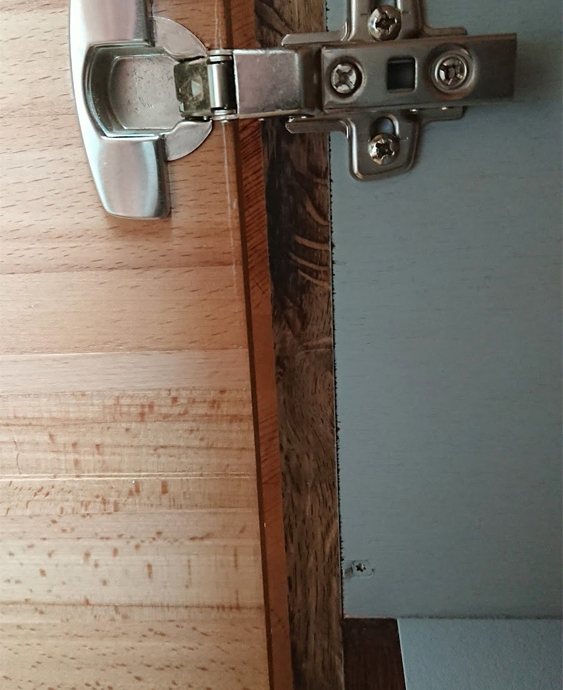
All crates, despite the different sizes, are made the same. A plywood box, the panels screwed together, and a 3 mm medium back in grooves. The fields are hidden by oak brackets, wenge tint.
Height of the boxes, 63 cm. The plastic feet are 2.7 cm high. Between each box, cleats 2.7 cm wide, also tinted and offset from the front.
Making the drawers
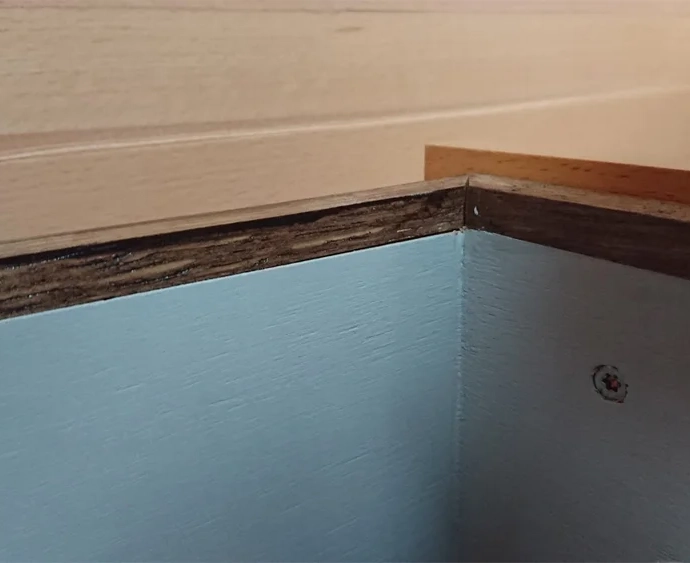
Also made in plywood , with stained cleats glued on the fields. The backgrounds are in medium. The visible parts have been painted gray. The bottoms of the drawers as well as the shelves of the furniture doors are covered with wallpaper.
Fronts, top and finishes
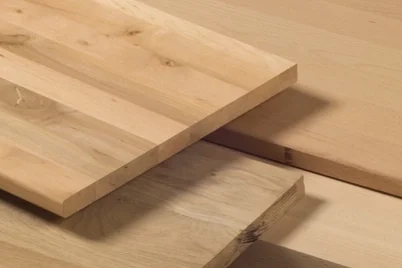
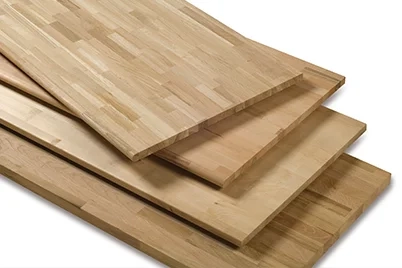
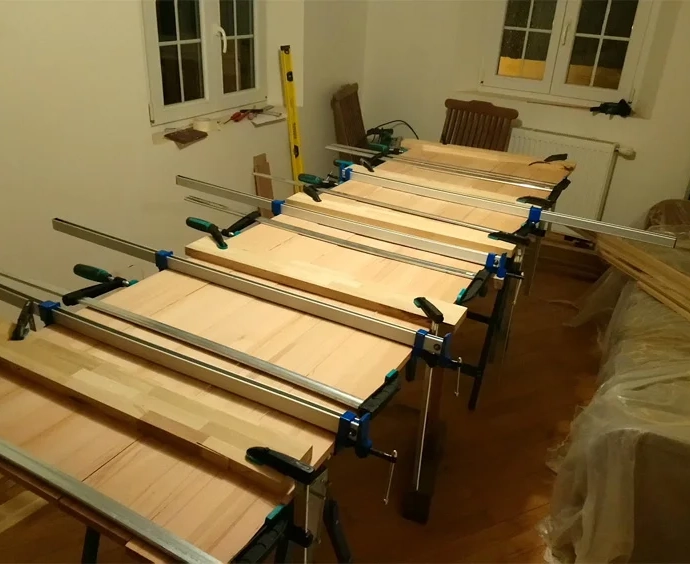
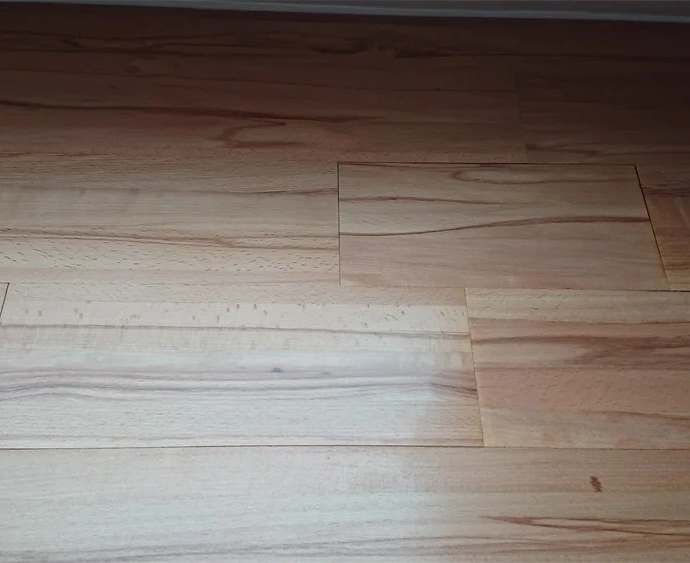
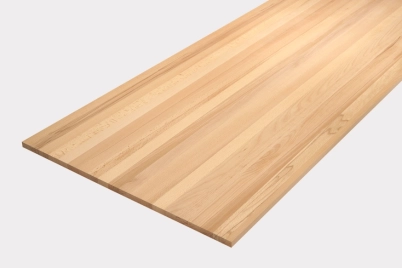
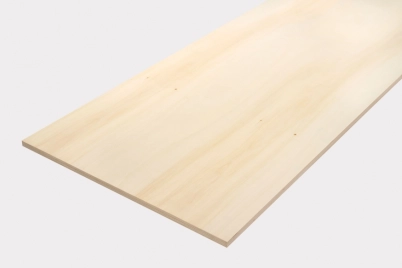
The furniture being on beech parquet, I wanted to have an almost identical finish. So I opt on beech panels, meters and meters of beech. Two panels 2.50m long and 61.7cm high made from 14.5cm wide planks. There is continuity between the front of the drawer units and doors.
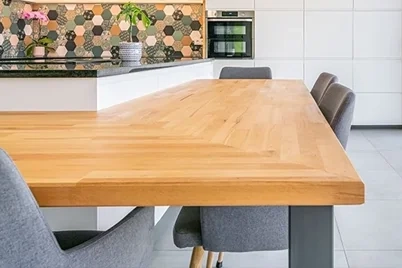
For the top, same beech planks but with lengths of 30 cm, 40 cm, 50 cm 60 cm and 2.50 m. Everything has been assembled like a puzzle. Given the length of the main platform of almost 4 m, it was impossible to do this in one piece. As a result, it was made in 2 pieces that fit together perfectly.
After the sanding session with paper ranging from 40 to 160, I chose the same treatment as for the parquet, a V33 vitrifier satin.
Tools necessary for the realization of this piece of furniture in the attic
Miter saw, folding saw and rail as well as a jigsaw for making the holes for the cable guides. And we do not forget a tape measure, pencils, a set square, a spirit level, glue, big and small clamps, a screwdriver, a sander, forests, different heads, and screws of all sizes .
All cuts were made with portable tools. The only “heavy” machine used is a plane to be able to put the cleats concealing the fields of the drawers at the same thickness.
After having passed and let dry a first layer, I grained the wood using a light and regular sanding (sandpaper grit 280) to find the softness of the wood to the touch. Then a second coat and finally a third to obtain a perfect finish. The legs and brackets for the shelf have been sourced from a large DIY store. The office is now functional, warm and allows you to work in an environment that is both natural and technological.
 Small price
